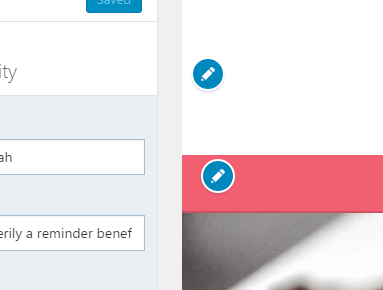
I just had the same issue and with a little googling I found the following solution:
// Add the selective part
$wp_customize->selective_refresh->add_partial( 'your_theme_second_logo', array(
    'selector' => '#yourID', // You can also select a css class
) );
After you add the custom settings, you need to tell to WordPress what settings you want to manage with selective refresh.
For example, I wanted to add a second logo, right next to the main logo so I added the following code:
/* Customizer fields */
function your_theme_customizer_settings($wp_customize) {

// Add a setting to upload partners logo, right next to our logo
$wp_customize->add_setting('your_theme_second_logo');

// Add the field informations
$wp_customize->add_control(
    new WP_Customize_Image_Control(
        $wp_customize,
        'your_theme_second_logo',
        array(
            'label' => __('Upload second ', 'textdomain'),
            'description' => __( 'Some description', 'textdomain'),
            'section' => 'title_tagline',
            'settings' => 'your_theme_second_logo',
        )
    )
);

// Add the selective part
$wp_customize->selective_refresh->add_partial( 'your_theme_second_logo', array(
    'selector' => '#yourID', // You can also select a css class
) );

}

// Customizer action
add_action('customize_register', 'your_theme_customizer_settings');
After you do all the backend part, you need to move to frontend. In order to have a visible edit button in case of empty field (no picture selected, in this case), you need to wrap the field into some wrapper. I used a span wrapper with yourID id.
<span id="yourID">
<?php /* Partner logo */

    $headPartner = get_theme_mod( 'your_theme_second_logo' );

    if ( !empty($headPartner) ) {

        echo '<img src="' . $headPartner . '" alt="Your Partner">';

    }

?>
</span>

